Some time ago, my wife asked me to make a water leakage sensor. She was afraid that the hose in the boiler room can be leaky, and the water would flood the newly laid wooden floor. And I as a true engineer undertook such a sensor to do.
From my 15 years of experience as an medical engineer, I know that easiest way of detecting water is metal pins shorted by water. The principle of operation of the simplest sensors is that water has to short two (or more) metal pins, and as soon as it happens, alarm triggers.
So, for this project you need:
Hardware
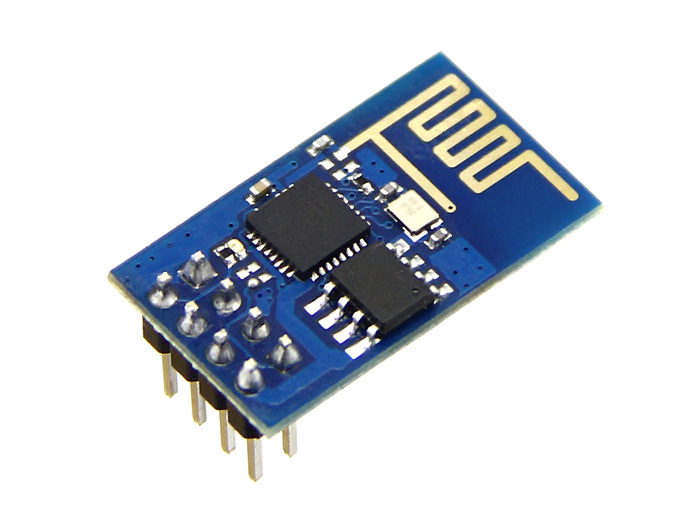
1. ESP8266 - 01 module
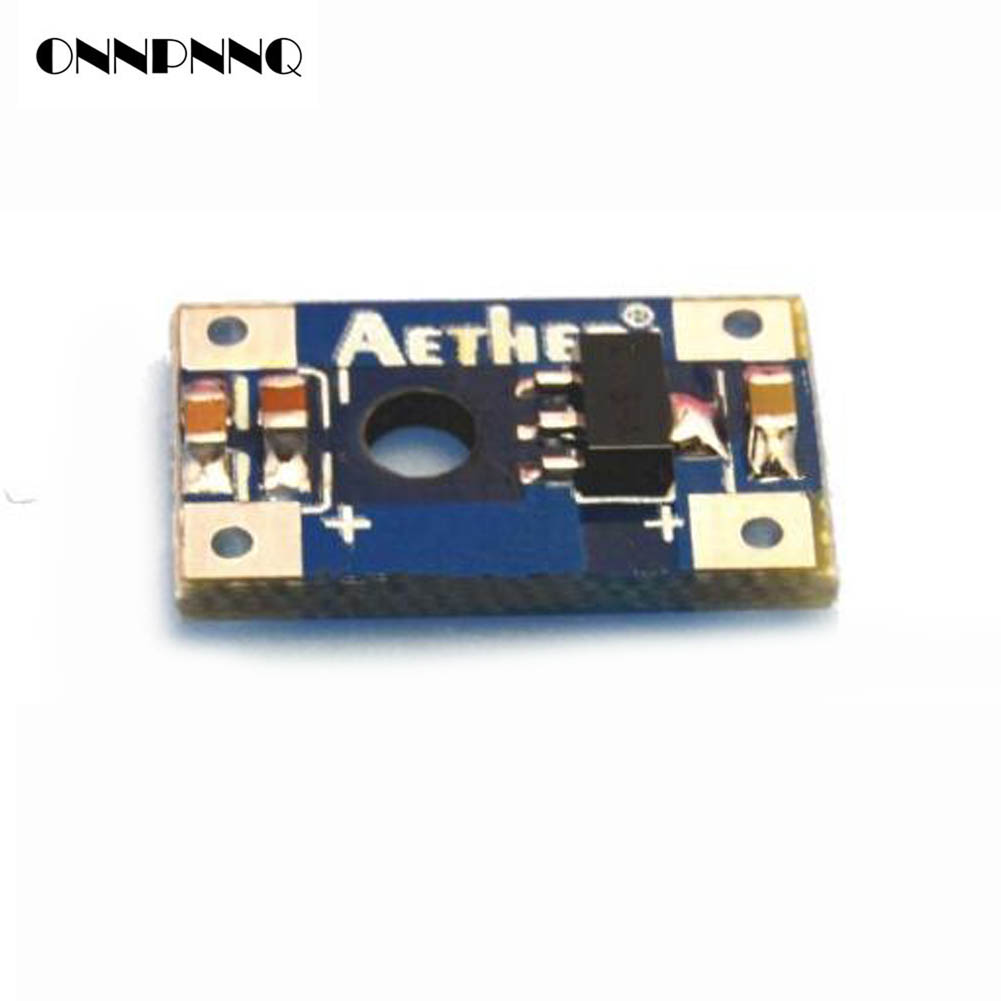
2. HT7333 3.3V MS Low Dropout Linear Regulator Power Supply module.
We need this module to reduce voltage from the battery to the acceptable level for ESP8266.
According to datasheet there should be 3V to 3.6V input. This module gives us 3.3V.
3. Battery.
I am using 3,7V Li-ion 400mAh battery. Actually you can use any other suitable power source. 18650 battery is a good choice also. When you are choosing a battery keep in mind that ESP "eats" about 200mA whike connecting to WiFi network, and about 60mA is used when the board is uploading data to server.
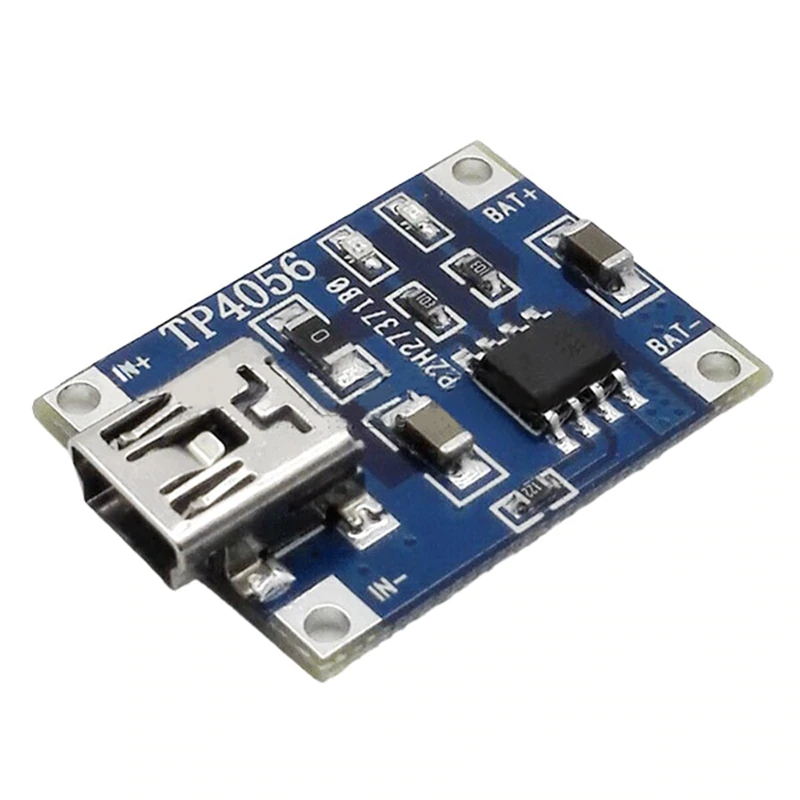
4. TP4056 Lipo battery charging board.
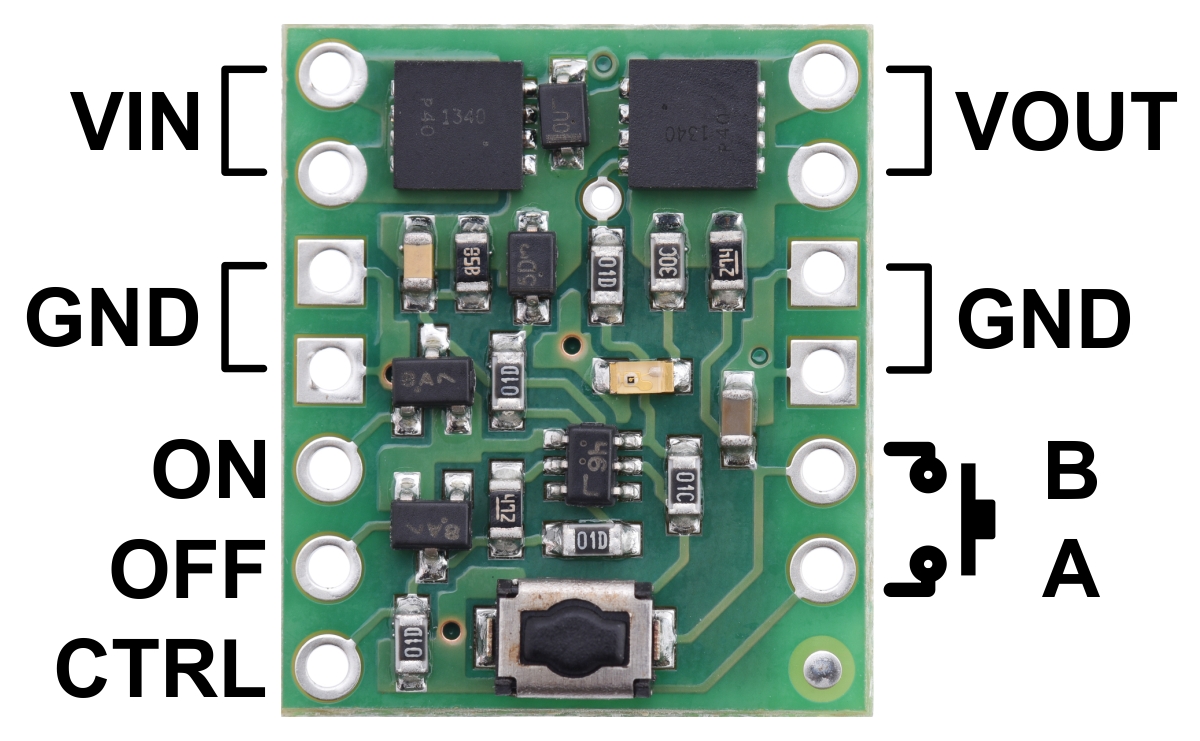
5. Pololu mini pushbutton Power Switch
Very interesting tiny board. It let us switch the ESP module only when water is detected. You do not need to keep ESP ON. So it is good for saving charge of the battery.
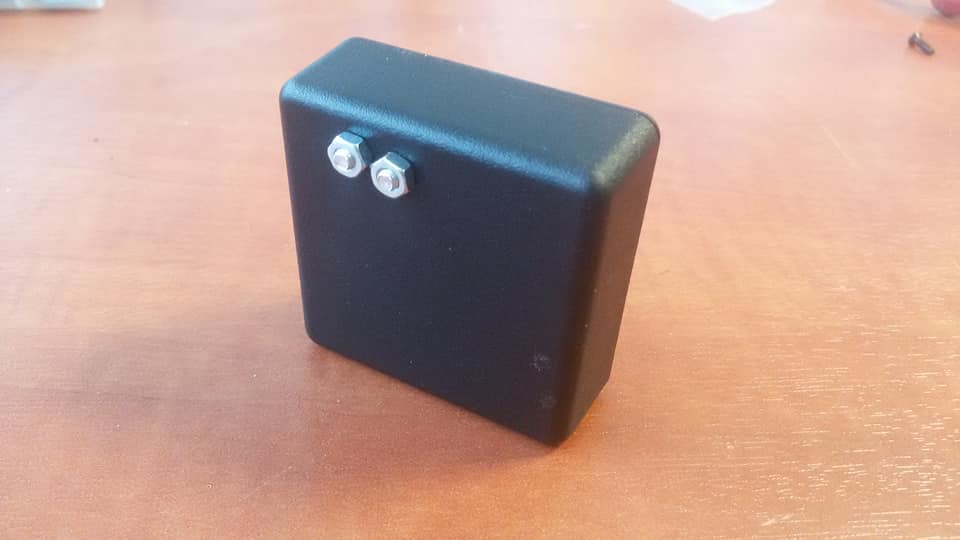
6. Housing
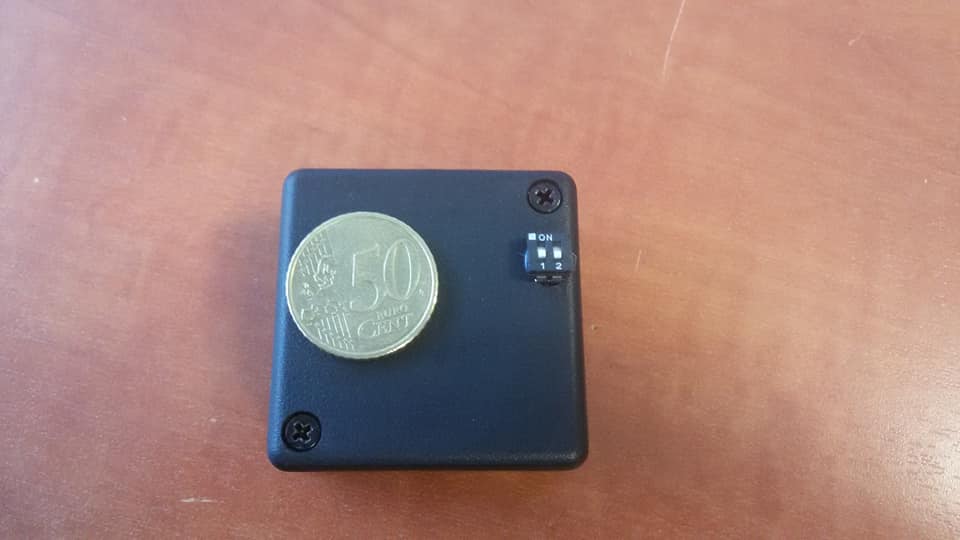
7. Double micro-switch ON-OFF
One line serves to switch the device on. Second line is for testing - it shorts circuit without water, just to let us know is the device working or not.
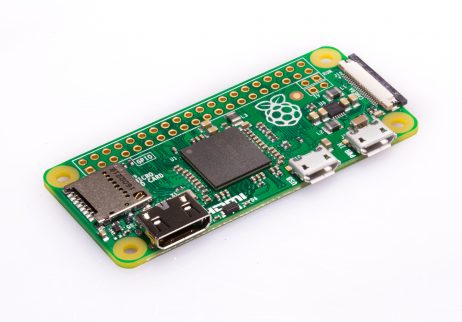
8. Raspberry Pi micro computer
I am using Raspberry Pi Zero. It is powerful enough for running Domoticz server.
Software
On your PC:
1. esptool installed, for erasing modules and flashing firmware
2. Ampy installed, for flashing your program
3 Python 3.6 or higher recommended
4. Any code editor you want. Simplest - Python IDLE which is normally being installed with Python.
I am using Pycharm / Atom or Anaconda Spyder
On raspberry Pi
5. Domoticz server installed on Raspberry Pi (or common PC under Windows or Linux)
How to
Prepare Raspberry Pi
So, take your RPi and install operating system suitable for running Domoticz server. You can follow these instructions.
I am using Raspbian Stretch with Desktop from here: https://www.raspberrypi.org/downloads/raspbian/
Install Domoticz
Next step is to install Domoticz server on your PC. You can use instructions here or here :). Do not be afraid, it is not so difficult. Obviously you need to run in your terminal :
curl -L install.domoticz.com | sudo bash
And that is it :) more or less.
Domoticz setup
Now that our server is ready, we can access it from any web browser, including from a tablet by entering the following URL: http://IP_domoticz:8080

Next let's adjust application settings.
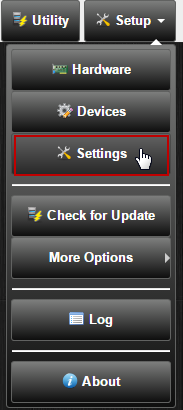
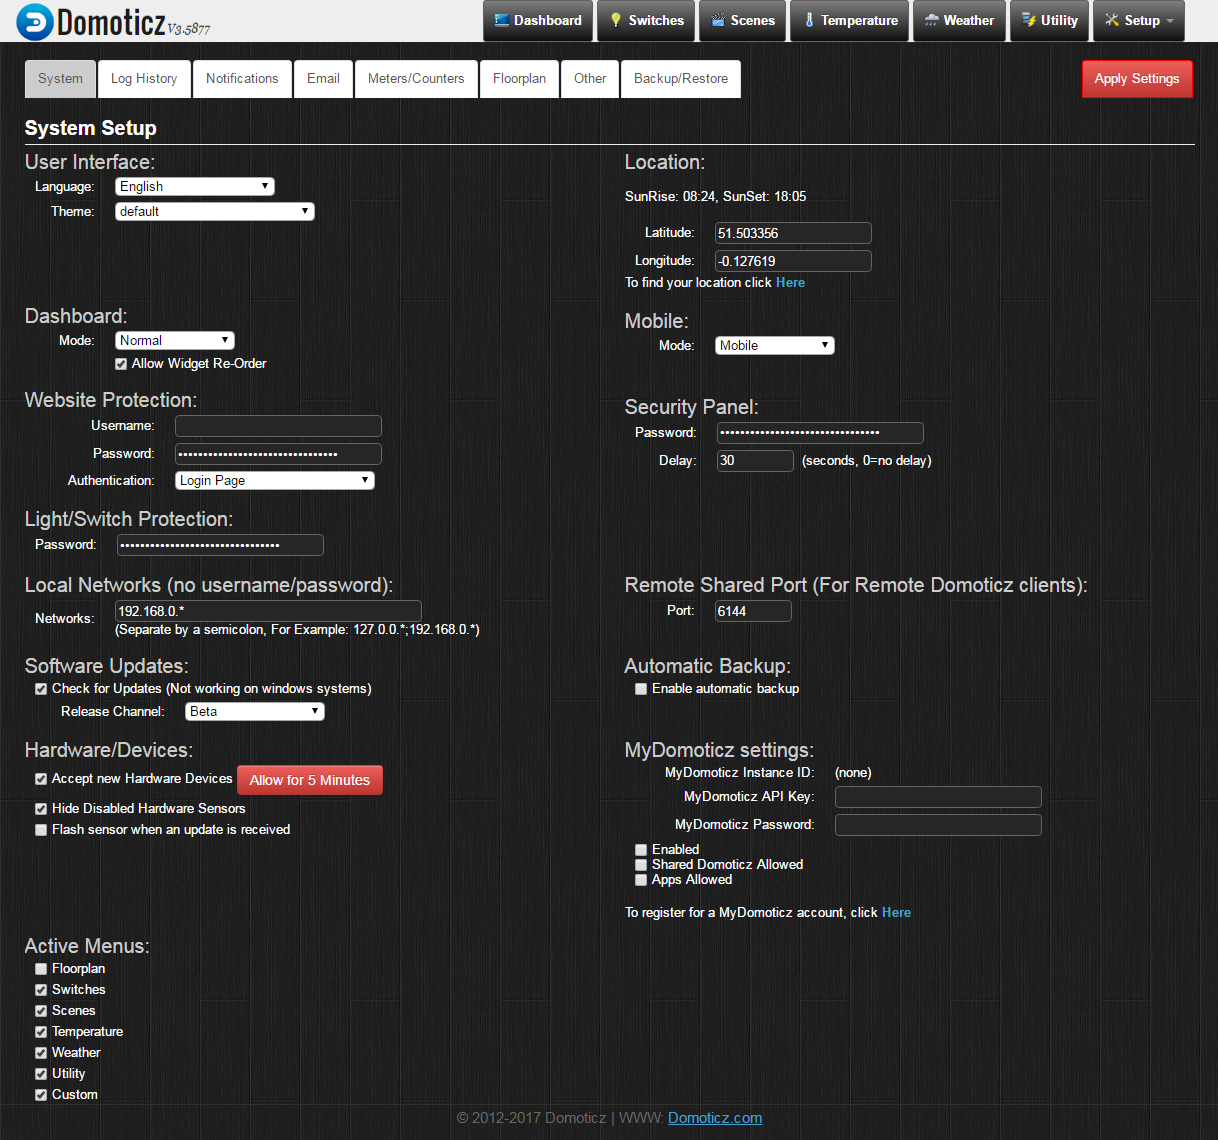
There are various application settings which can be set through the Setup | Settings menu.
The Setting menu with various tabs allows you to enter personal parameters necessary for a better system functioning. After entering data in the fields, you have to save them by pressing the red button "Apply Settings". After this action all Password fields, which were empty at the first access, will appear with a long string of asterisks, even if they have not been used.
After you have made main setup on "System" page, click "Notifications". Here we need to adjust what kind of notifications we are going to use.
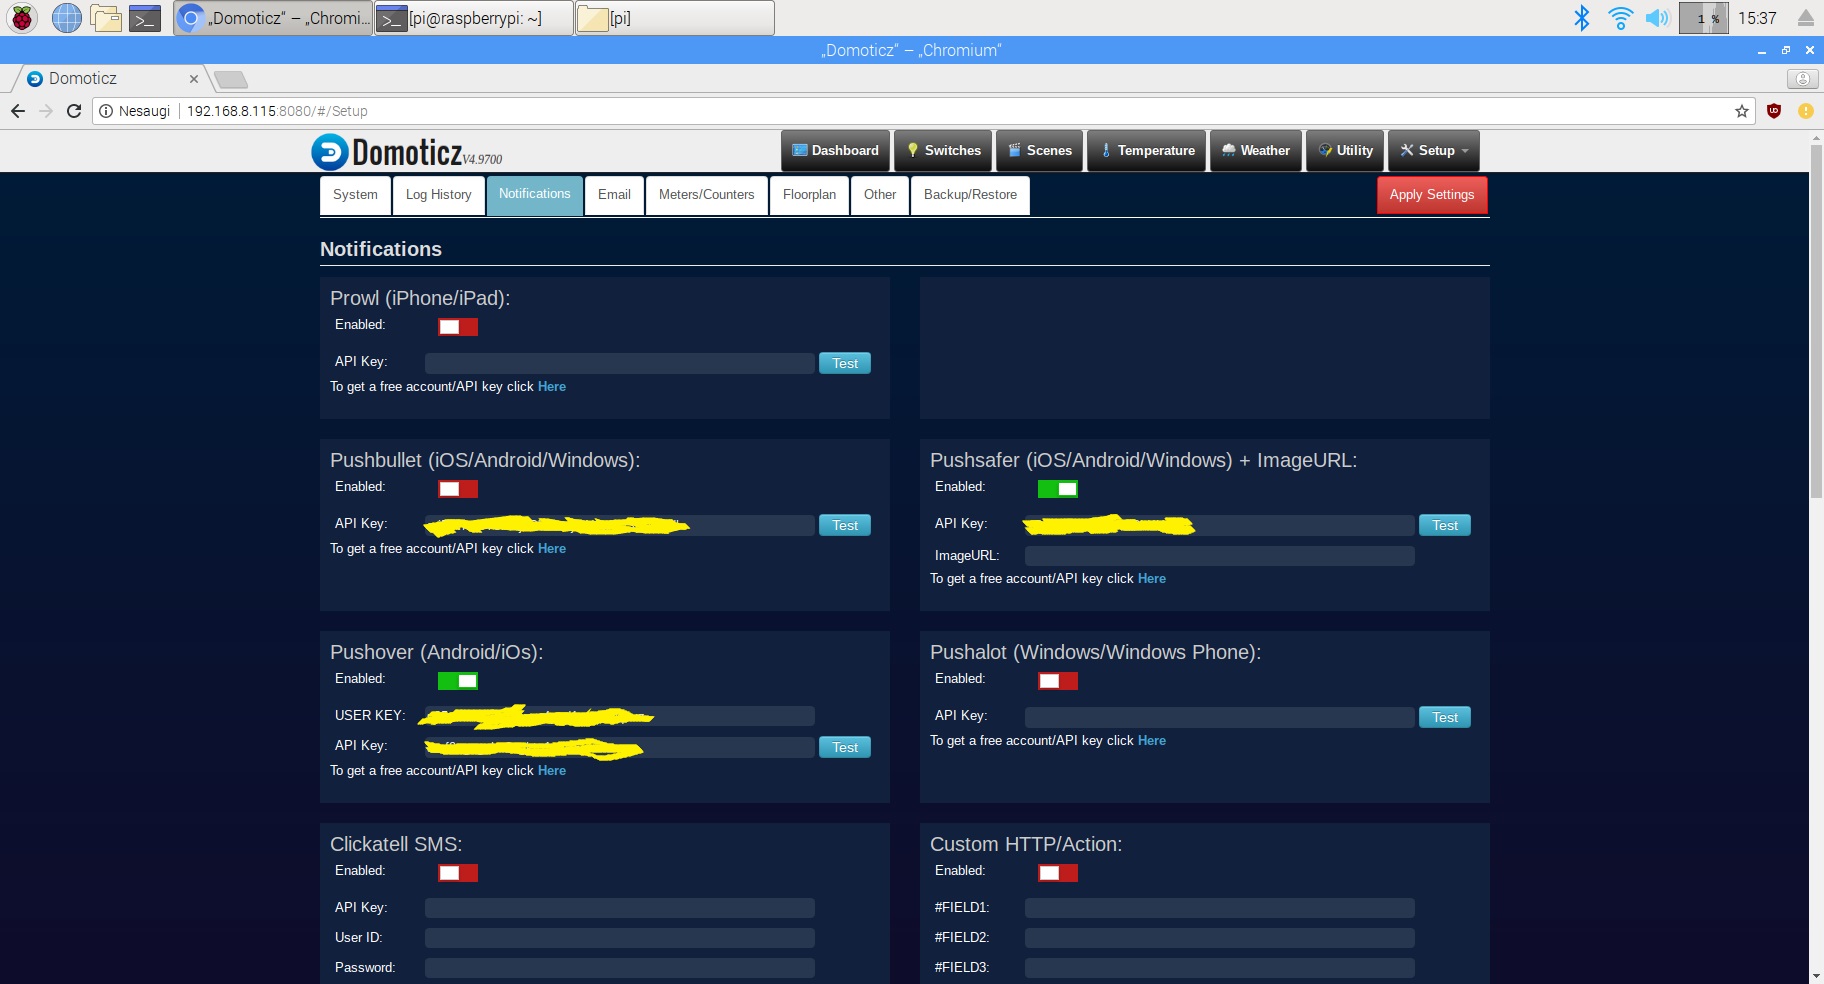
Notifications can be send for example when a switch is pushed, electricity usage is too high,temperature to high and for many more options.
In our case notifications has to be send as soon as water was detected by the sensor. So just switch on those, you want to use. Also normally you need API key for notification to work. Running ahead a little bit, I will say that I tried Pushover, Pushsafer and Pushbullet. And I stayed with Pushover. Latter I will tell why.
Few words about how notifications works. You need to have an account on Pushbullet, Pushover or other pages you would like to use. Also you will need an app on your cell phone or PC.
Get API key, and insert it on the page above. You can test notification by clicking "Test". If API key is correct, you should get a test notifications to your cell phone.
As soon as the sensor sense water, ESP switches on and sends request to Domoticz server in JSON format. Than if conditions for triggering an event ( sending notification to you cell phone) is satisfied, Domoticz sends the notification.
Later I will come back to "events".
Let's go further.
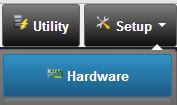
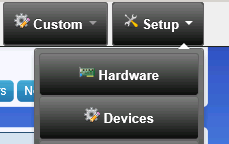
Before you can use the Domoticz application to control devices or read sensors you must setup the communication to hardware device(s). Select Setup|Hardware to add hardware. Devices will not show up until the appropriate hardware is added.
The Domoticz application supports many hardware devices natively.
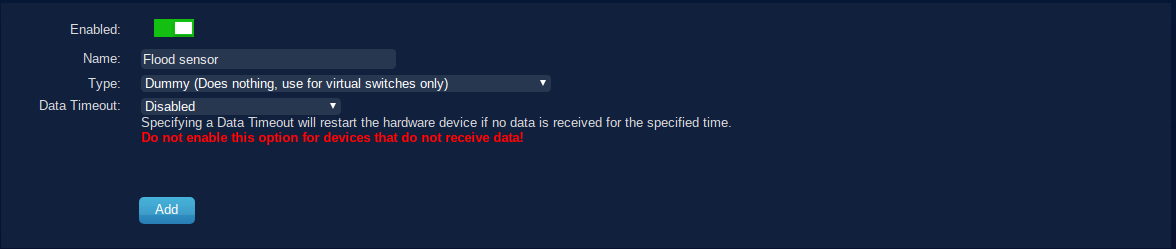
In our case to read our flood sensor we need to add so called "Dummy" hardware from the list of hardware.
When hardware is added the overview of all defined hardware will be shown. Hardware can be disabled or deleted.
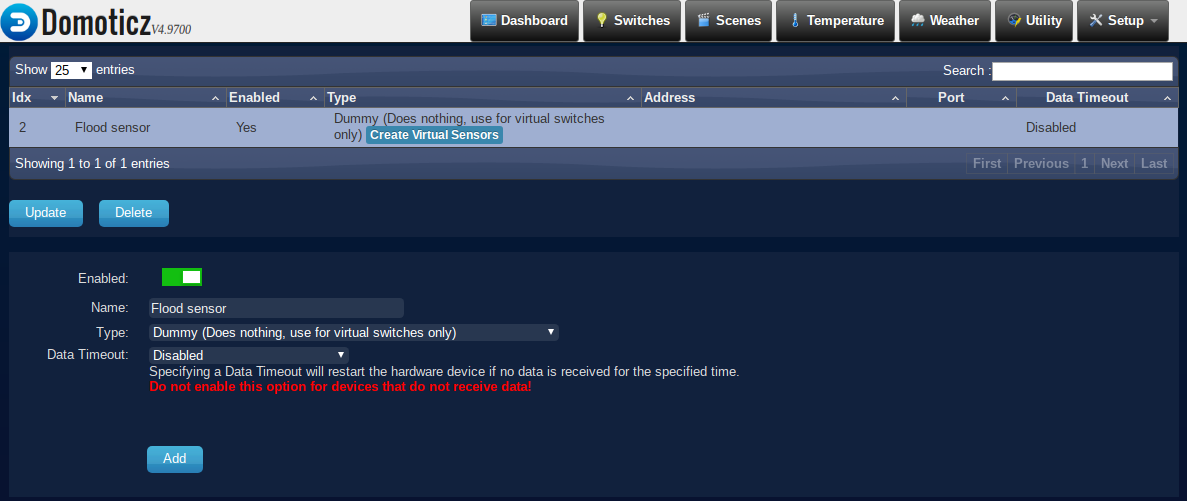
The new hardware should be in the list and there should be a button "Create Virtual Sensors".

Click this button and choose Sensor Type "Alert".
Now we have to add the device in Domoticz to become active.
Please note the number below "IDX". This is the unique reference to this device and we need it later in our Python script to address notification. In this case the IDX number is 1.

Enable the device by clicking green arrow on the left (on my picture below it is blue, because of the device enabed).
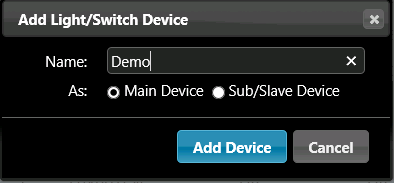
Fill in name of the device, and click "add".
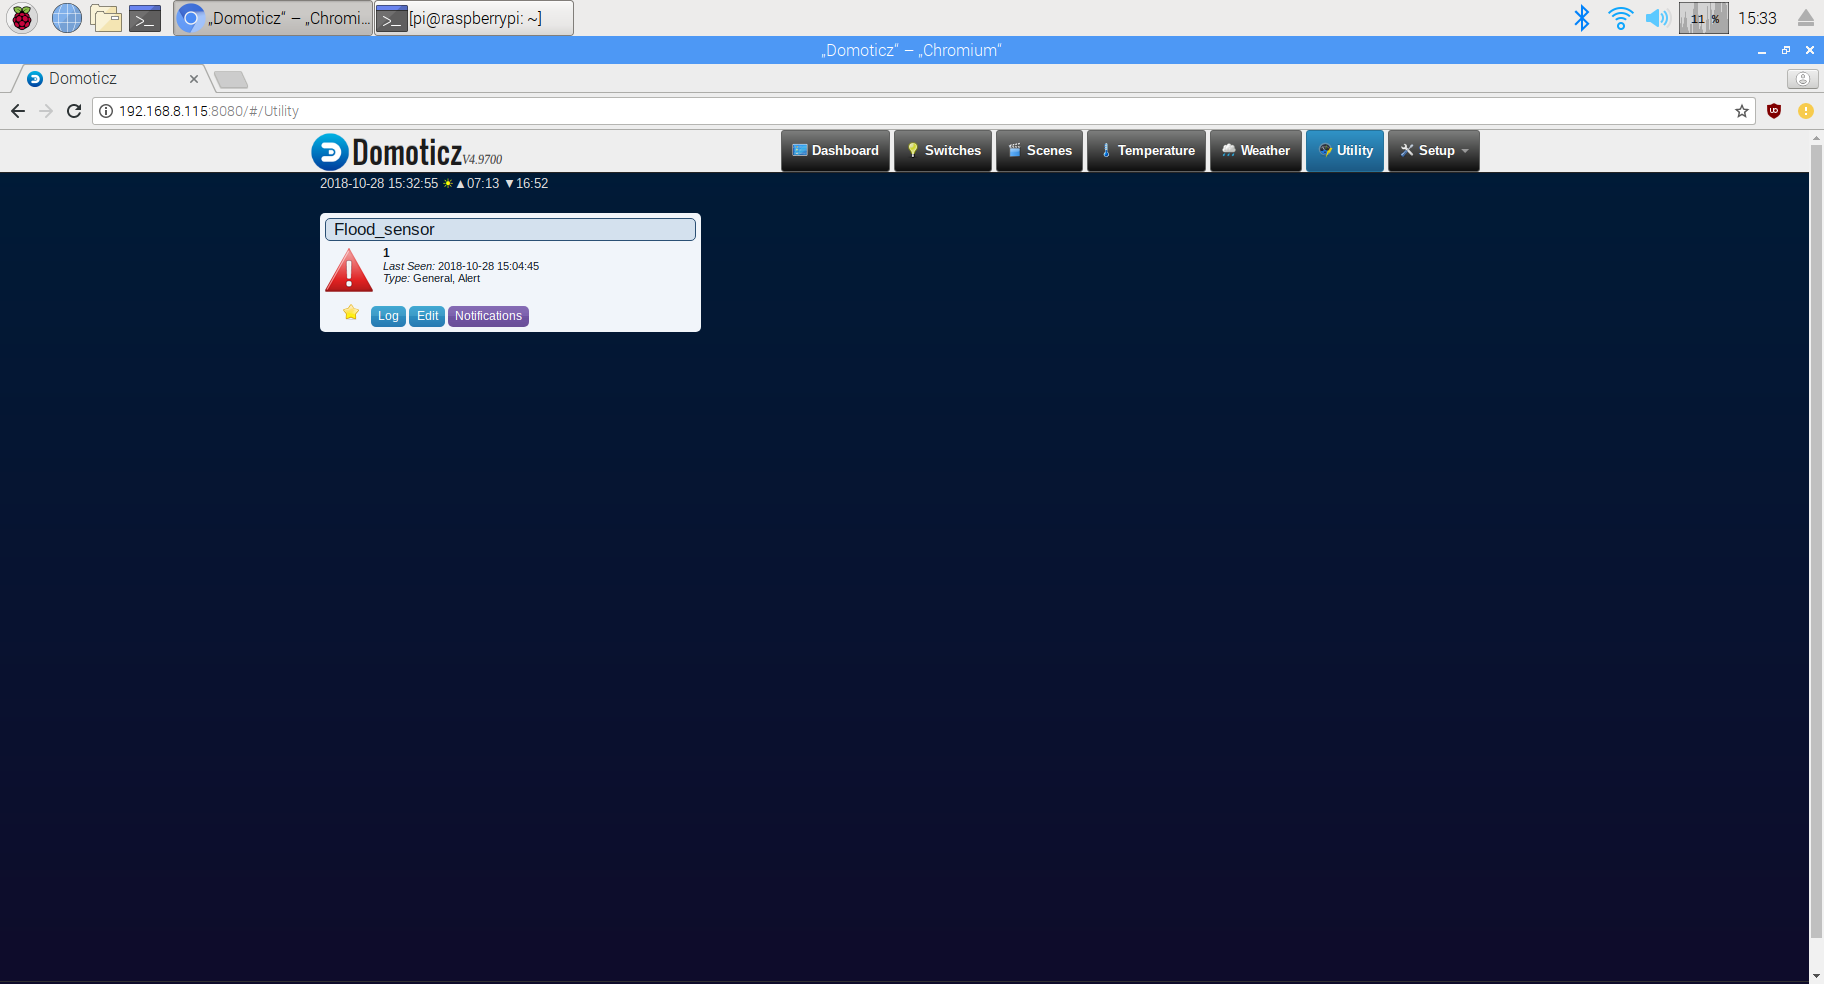
Navigate to menu "Utilities" and your device should be listed:
Now we need to program "event" for our sensor. It means, that we need to tell to the server, what to do in case it has got a message from sensor.
And it was let's say most hardest place for me :).
I started by trying to program event on the /device/ page. This on below isn't mine, but it's ok to illustrate.
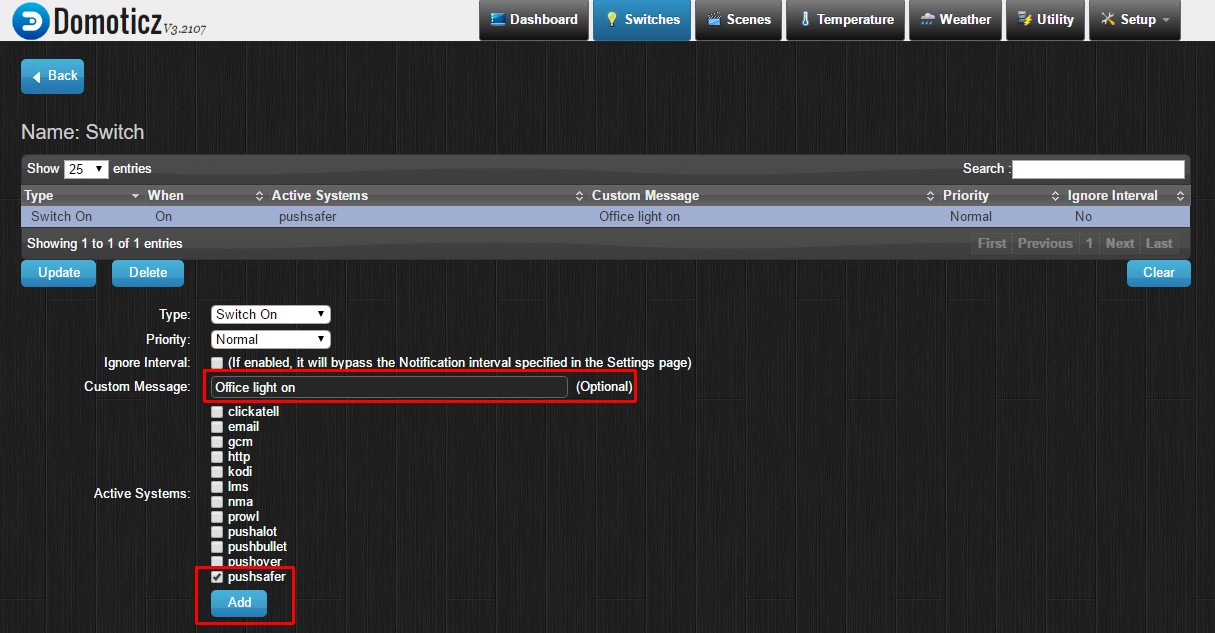
If you believe that you will check some checkboxes and it will work, you are wrong :) It doesn't work in this way. I suppose this feature here is not finished yet. Do not forget - it's open source software.
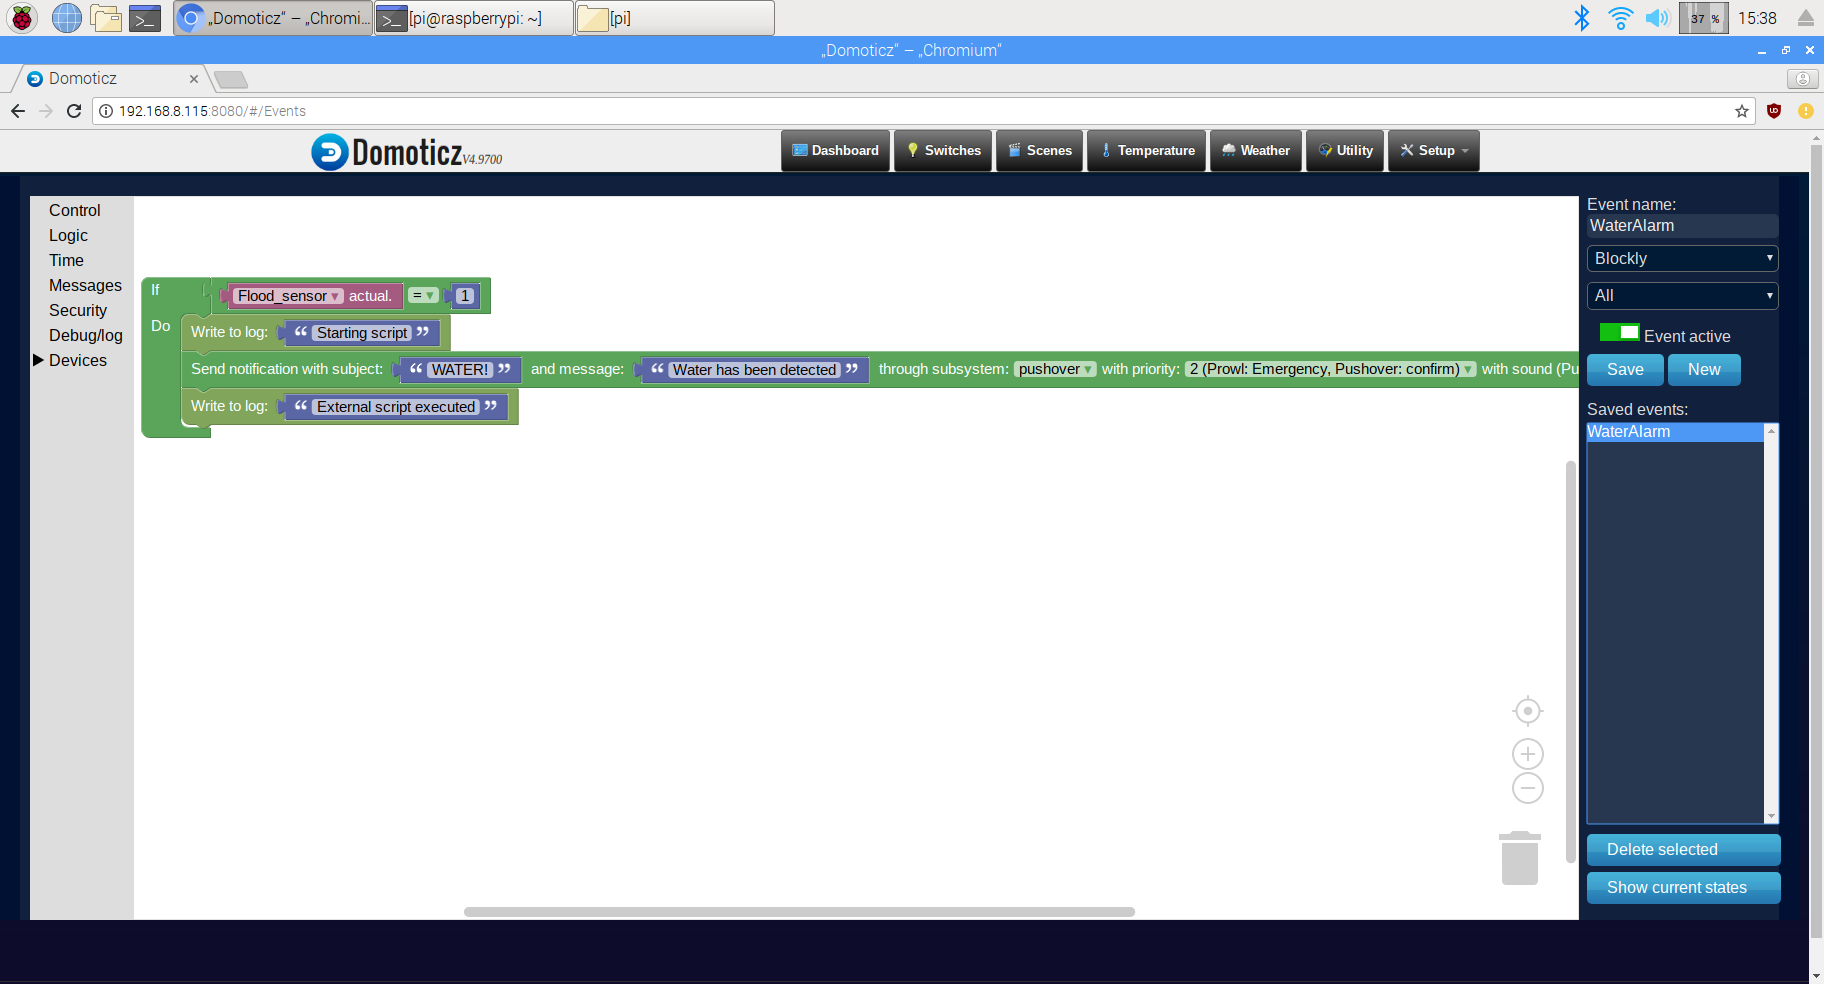
Ok, after several hours I found the solution. We need to use "Events" from "Setup" drop-down menu.
After clicking "Events" you can create your own event. You can do it buy writing a code in Python or LUA, or just by using thing called "Blockly".
I choosed to use Blockly.
There are two ways to force the server to do what you want.
1. Execute external file via "Events", by using Blockly message "Start script"
This works for me on Windows machine perfectly. But I did not succeed with this on Raspbian on my Raspberry Pi. I suspect that there is an issue with permissions. Any way I will upload Python script for this case on bitbucket. This script allows you to publish notifications to Pushsafe.
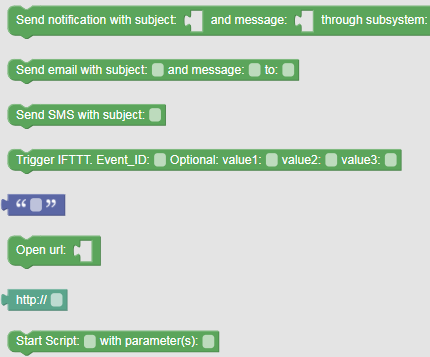
2.Use "Send notification with subject" message. It works on Raspbian. This option supports sending notifications to Pushsafe and Pushover.
The advantage of using 1st way, is that it is more flexible. You can choose icon to be shown on your display, sounds and so on.
My "event" is shown on the picture below.
Next, let's program ESP module.
Programming ESP8266-01 module
Let's start from flashing our ESP8266 module. Normally those modules comes with factory firmware. it is possible to communicate with modules by using so called AT commands. And also this software do not allow to use modules like standalone controllers. To use them like standalone controllers we need to erase factory firmware and install a new one.
To do this we will use esptool. Than we need to connect our module to PC to erase firmware.
To do this you need TTL converter + few additional components. But there is an easier way :).
Just buy on aliexpress or ebay USB to ESP8266 ESP-01 Wi-Fi Adapter Module w/ CH340G Driver.
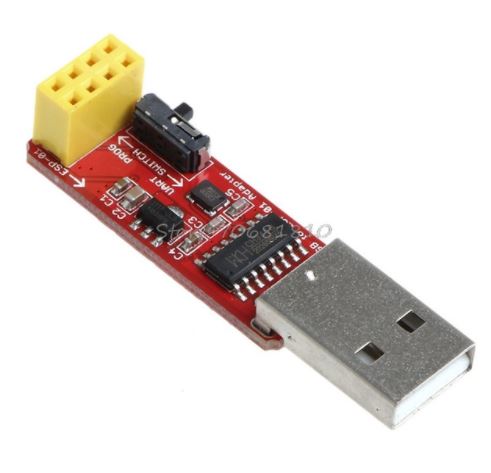
Plug the ESP8266 module into the TTL converter as shown in the photo below, and connect it to the USB port.
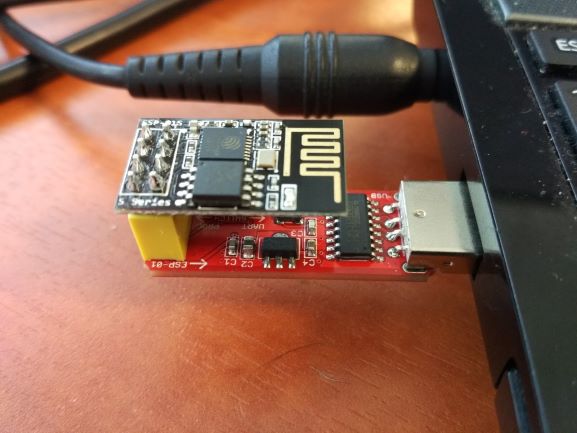
If you have the same converter as me, then by itself you need to change the switch to the "Prog" position. Find where esptool is installed (normally somewhere like C:\Program Files (x86)\Python36-32\Scripts. Go to this folder, launch command prompt there.
Type: python esptool.exe --port COM5 erase_flash
Of course choose correct port. In my case it is COM5. You can check the port where ESP is installed from Control panel - System - Device manager.
Install firmware (I took it from here: https://micropython.org/download#esp8266) by typing:
python esptool.exe --port COM5 --baud 460800 write_flash --flash_size=detect 0 C:\path_to_firmware\esp8266-20180511-v1.9.4.bin
Ok, now we are ready for uploading the micropython scripts to ESP8266.
I am using Adafruit MicroPython Tool (ampy) for this. But nowadays there is another option called Esplorer. This an app with user interface, allowing to upload files to ESP modules.
You can find instructions how to install ampy here.
So, put the switch on the TTL converter to "UART" position.
We will need to upload files:
wifimgr.py - wifi manager for connecting to wifi network
main.py - our main script
In command line type: ampy --port COM5 put C:\path to your file
Hit "enter". After few seconds you should see empty command line. It means that file have been uploaded.
You can check list of files on ESP by ampy command: ampy --port COM5 ls.
From my experience it is better to upload main.py after you have uploaded all necessary files. it is so, because of as soon as you will upload main.py - ESP8266 module will reboot and start executing main.py file. So in this case if you try to upload another file, sometimes upload process will be failed. But it doesn't mean that everything is lost :), just try second time, and you will succeed (again, from my experience).
All files for this project are available from here: https://bitbucket.org/pilotlt/floodsensor/src/master/
if everything is ok, restart the module, by reinserting the TTL converter to USB port of your PC.
After ESP starts, find a new WiFi network called "Wifimanager". Connect to it with your PC or phone, then go to IP address 192.168.4.1.. Here you can connect your ESP to local WiFi network. Choose WiFi network you are going to use, type in password, hit "Submit".
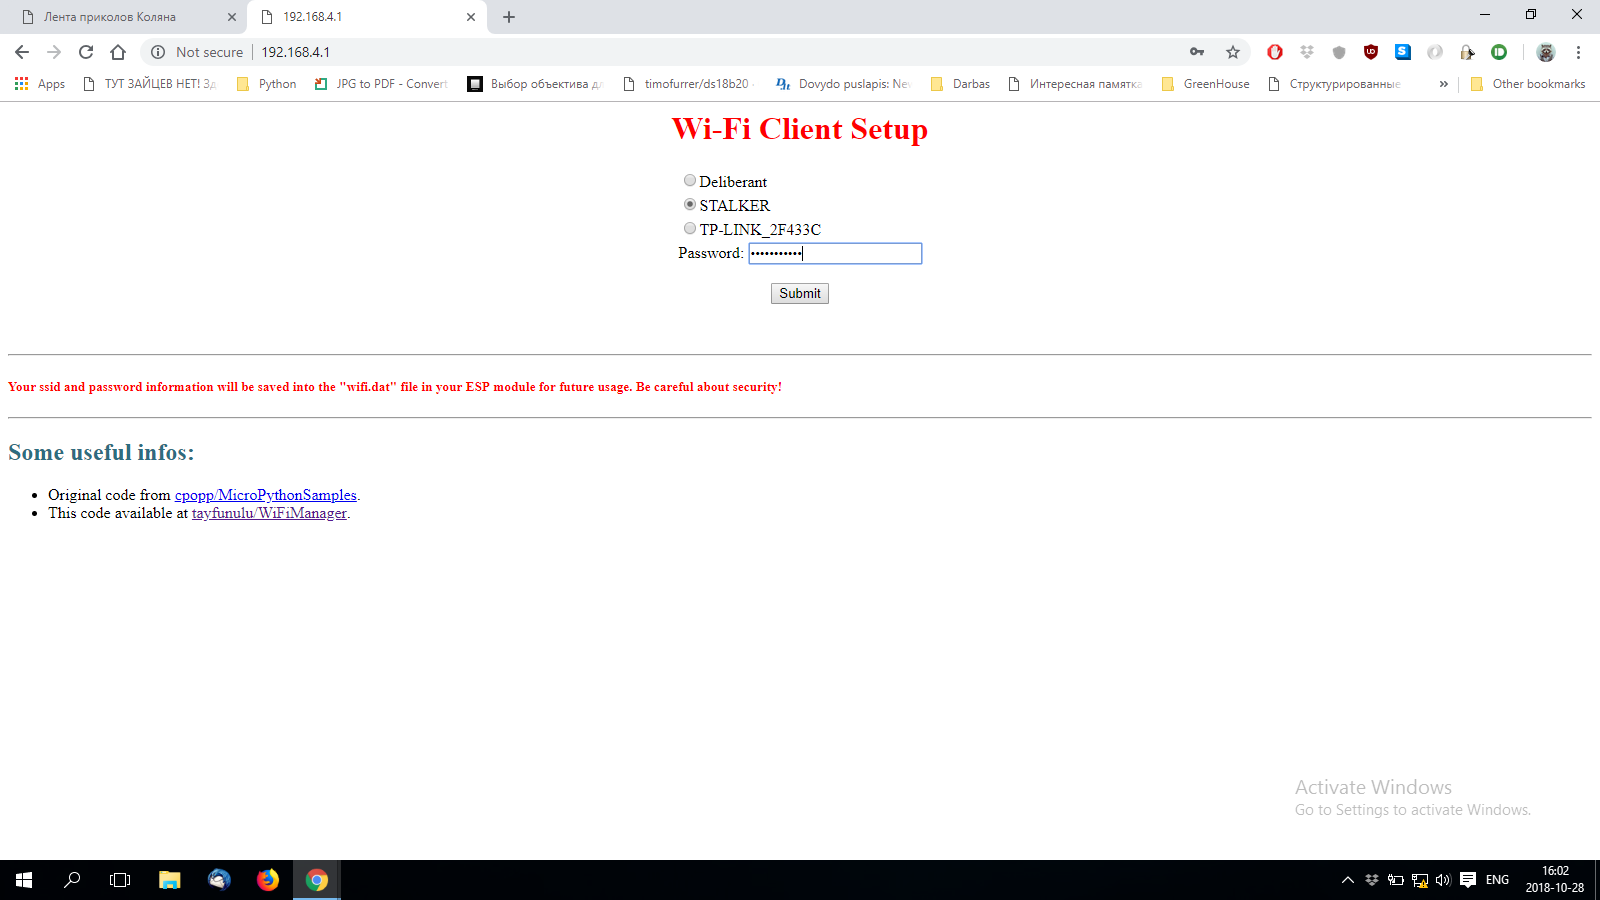
If everything is correct, you will see message " ESP successfully connected to XXXX network".
Your ESP now is connected to your WiFi network and ready. As soon as it connected to WiFi it will connect to Domoticz server. Shorty you have to receive a notification on your cell phone.
You can track the process in "Setup"/"Log".
Vua lia! :) It works. Now we can proceed to assembling all parts together, according to the block diagram below.
Block diagram

There is no that much to say about this diagram. Very simple. Switch the power with S1 switch. The device stands in off state until water shorts "Water sensor" pins. Then "Pololu board" switches on, and gives power to the voltage converter. This power module based on HT7333 chip, converts voltage to stable 3.3V for ESP8266. Next ESP switches on, and sends a message to Domoticz server.
Results
Bottom side
Upper side
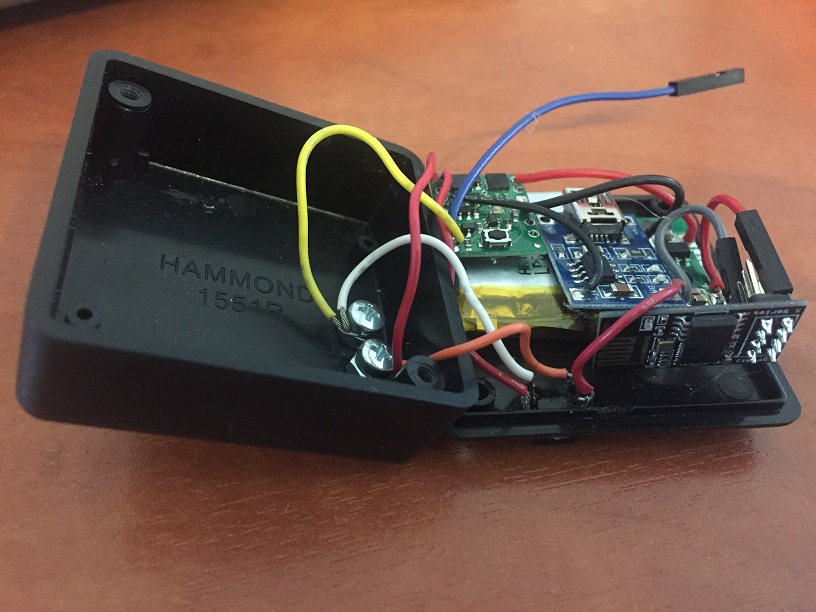
Inside the device
(Do not pay attention at the blue cable. it is there only for testing)
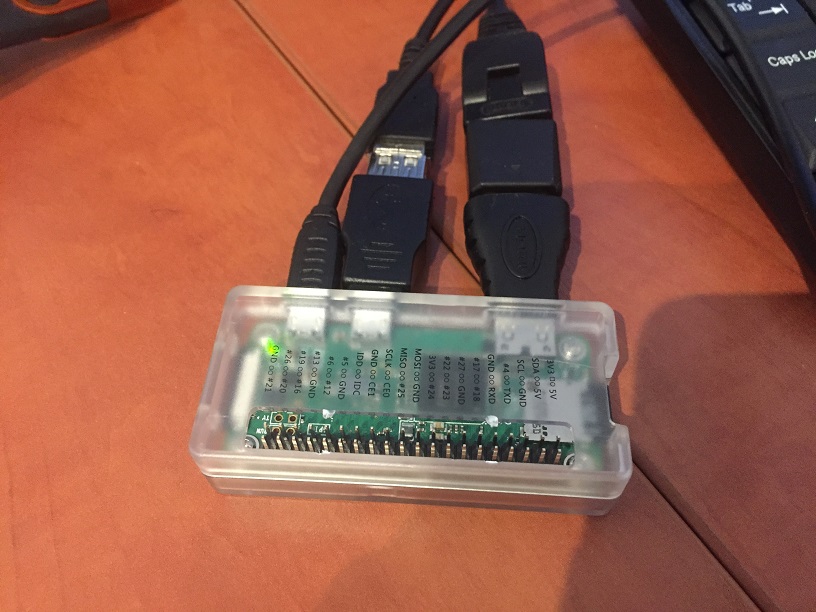
Raspberry Pi Zero based Domoticz server
Video
Conclusions
It works. Sending notification took up to 10 seconds: connection to WiFi, sending notification, getting alarm message to your phone.
I have programmed the sensor to send alarms every 30s, if water was detected.
The sensor can send up to 5 - 6 notifications until the battery will be discharged.
Such device can be used also to determine water level.
What I would like to improve.
1. To make it work faster.
I think I will try to use ESP-Now technology, which lets me connect several ESPs directly. In this case power consumption during connection is very low and it is more faster. So the idea is to use one ESP like a hub for connecting other ESPs.
2. Implement battery level alarm.
Now you can't know are there enough power to send alarm message or not.
I think in the next generation of this sensor there will a special button for testing battery charge.
user will have to push a button, and the battery level will be shown any how.